Import transactions
Use extensions to help import transaction data into your Journal. Transaction data can be obtained from PDF or CSV statements and etc.
Installing import extensions
Extensions can be installed via Settings > Extensions.
Using import extensions
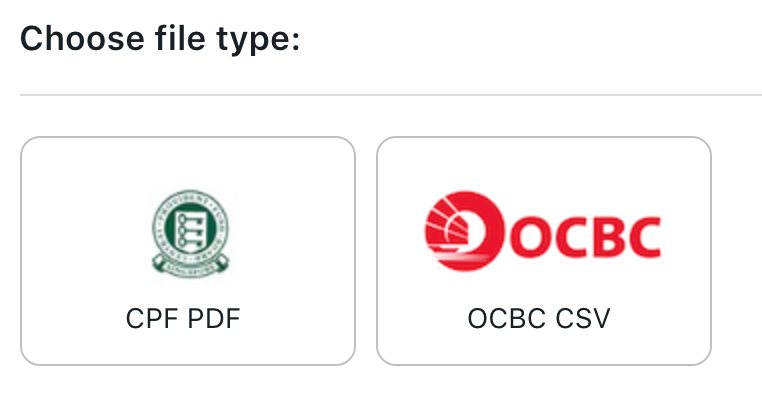
Click on Import on the navigation bar to bring up the Import selection dialog:

Choose the import extension that you want to use:
Navigate to the file you wish to import in the file selection dialog, then click Open.
The import confirmation dialog will then be presented to you.
Import confirmation
The import confirmation dialog is where you can look through the transactions that are to be imported and make any changes if you want to:
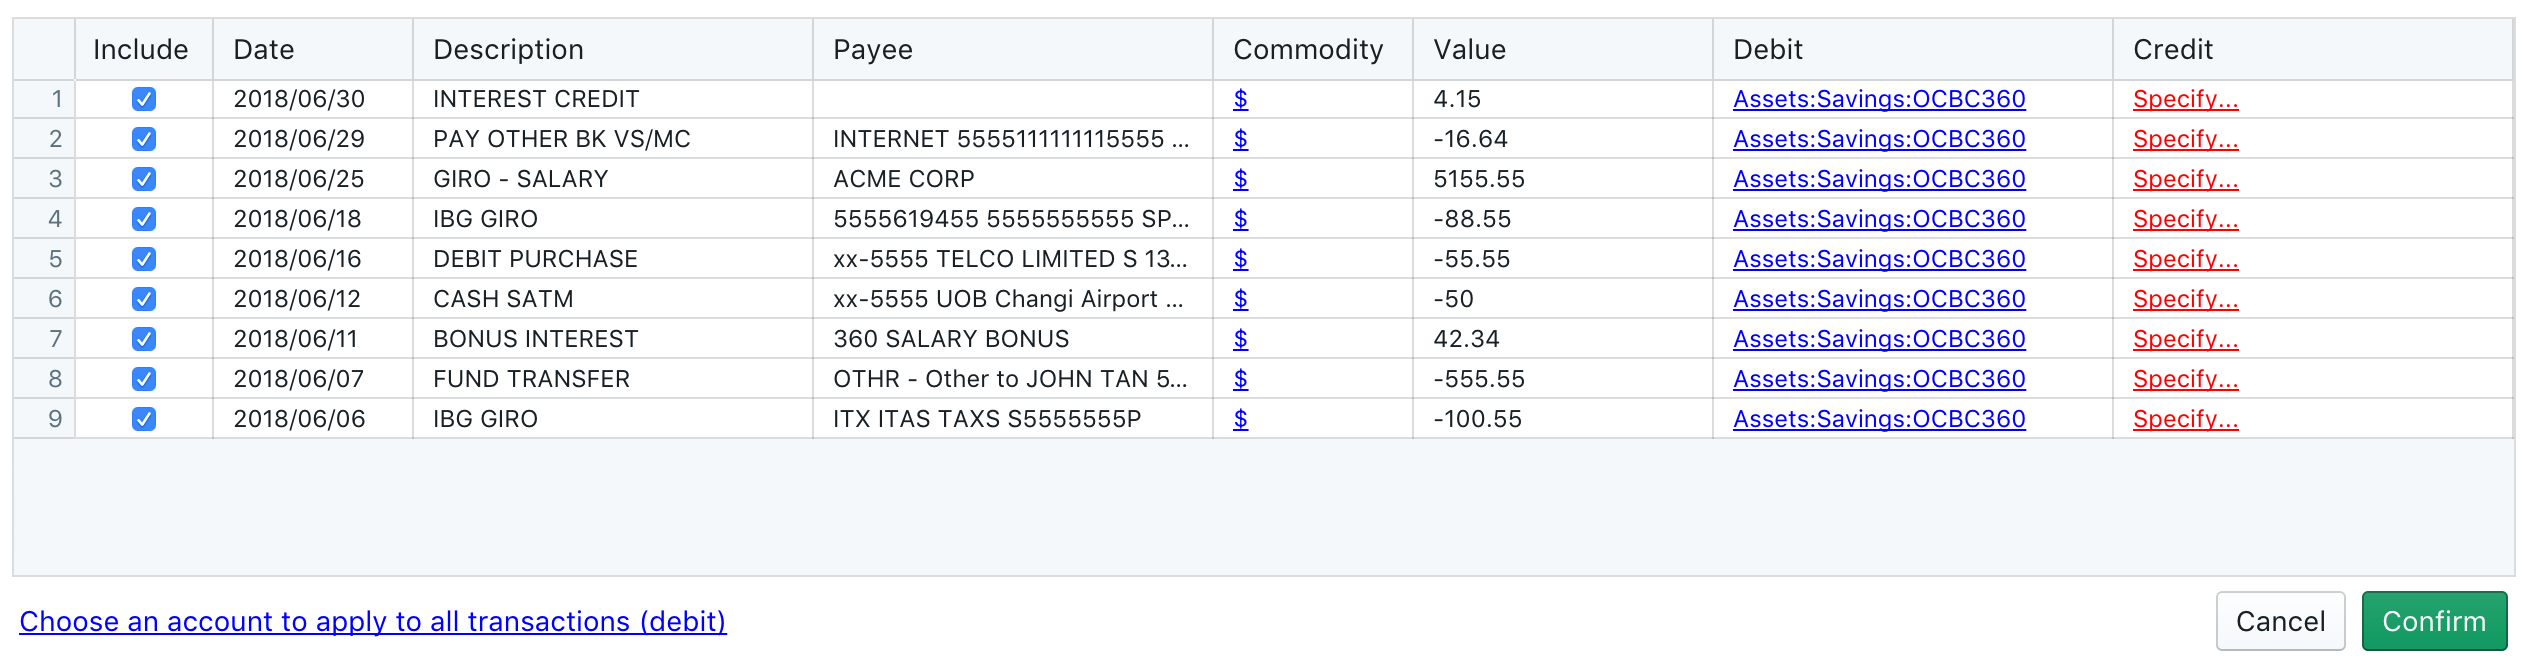
Changes that you can make before confirming include:
- You can choose to include a specific transaction or not by checking or unchecking the Include checkbox.
- You can choose the commodity to use or specify a new commodity for each specific transaction.
- You can specify the account to be debited and credited.
Specifying accounts
You need to specify an account to be debited and an account to be credited for each transaction that you want to import.
When importing, you'll typically want to Debit the account of the statement or file that you're importing. For example, if you're importing an OCBC CSV file, you'll want to specify "Assets:Savings:OCBC" as the account to debit (you can have any names for your account). You can click on "Choose an account to apply to all transactions (debit)" to specify a debit account for all transactions.
As most import extensions deal with Assets statements or files, extension developers adhere to a convention of passing on the either positive or negative values within the transaction itself, so you can just choose the account to debit to conveniently and specify the account to credit for the specific category of the transaction. For example, in the OCBC CSV file shown below, you just need to think about the Expenses or Income categories for the Credit part of the account specification.
An easy way to think about is to think of a positive value as an inflow to the debit account (income) and negative value as an outflow from the debit account (expenses or transfers).
Some import extensions will auto-suggest accounts to debit and credit.
Note
All product names, trademarks and registered trademarks cited herein are property of their respective owners. All company, product and service names are for identification purposes only. Use of these names, trademarks and brands does not imply endorsement.